When You First Get to the Microscope
Upright microscope =
- Slides sit on stage
- microscope objectives are above the sample
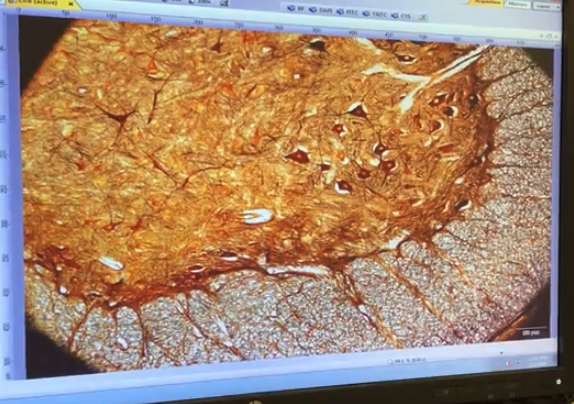
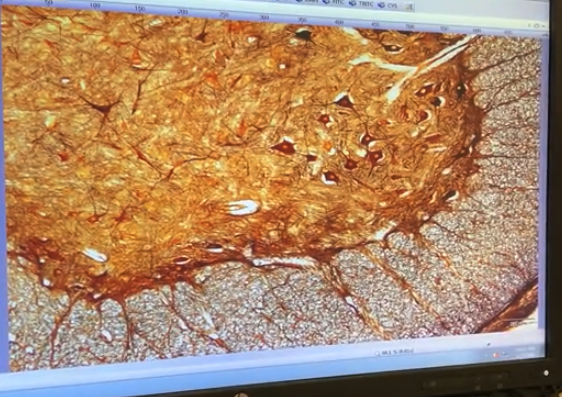
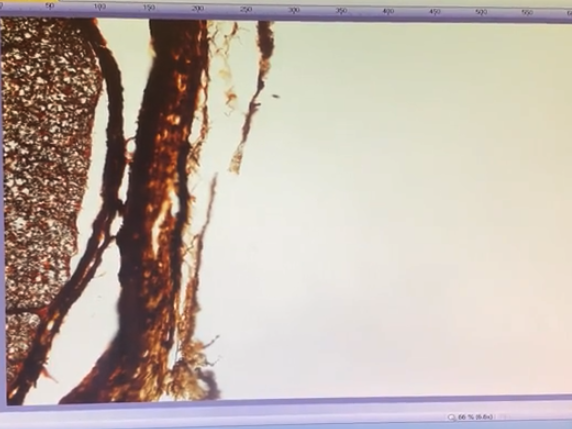
Week 1 = brightfield imaging on nervous system tissue
Week 2 = fluorescent imaging on nervous system tissue
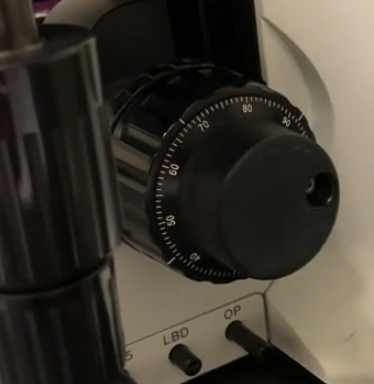
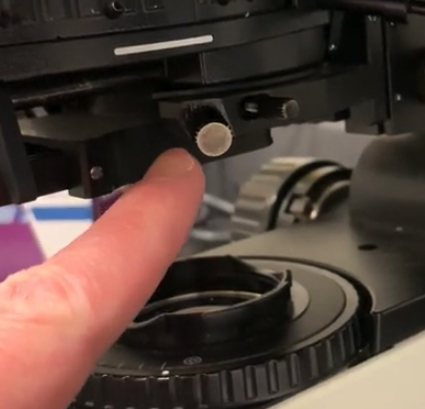
Turn on the light source

Two modes for brightness
when illuminated it goes to a "preset"
- already set to "mid-range" intensity
if you click it again , you can then use the light intensity knob to manually adjust
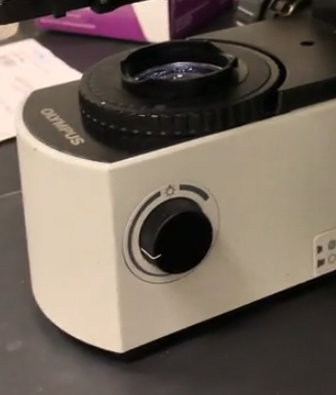
just use the preset option
- gives uniform brightness for all samples
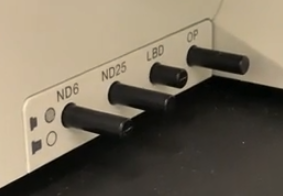
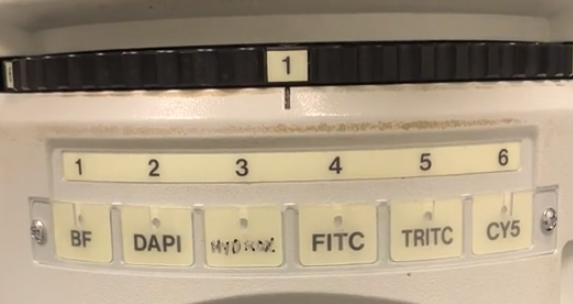
Make sure filters are correct
push button filters
all of them should be "out"
with the exception of light-balancing-filter ( LBD ) , should be pushed-in
- mimics "daylight" , even tone. instead of "yellowish light" that tungsten bulbs produce
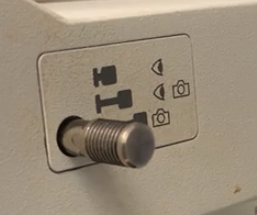
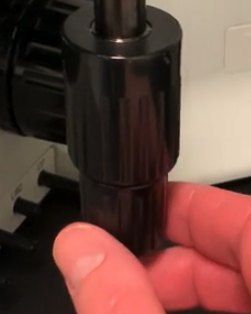
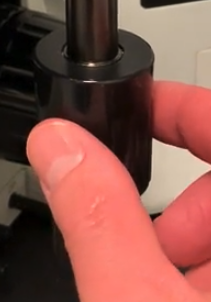
Adjust "light path" knob
Pushed-In = light is only going to the eye piece
Half-Way-Pushed-In-Half-Way-Pulled-Out = divides light between eye piece and computer camera
you CAN use this for the brightfield pictures , but NOT the fluorescent ones next week
- fluorescent microscopy , you want to maximize the amount of light you are capturing , so pull it all the way out
Pulled-Out = light is only going to the computer camera
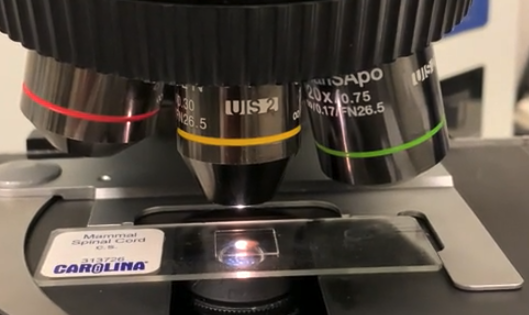
Always start with a low magnification objective
- Red Band = 4x
- Yellow Band = 10x
- Green Band = 20x
- White Band = ? x
- However , just start with the 10x , yellow band for our purposes
Adjust Filter Wheel to position 1 for brightfield observation
Put the slide on the stage , spring
Translate stage as needed
Bottom = Left / Right Adjustment :
Top = Forward / Backward Adjustment
Bring Image into focus
Fine Focus = most lateral knob
- should only need fine focus for this assignment
Coarse Focus = most medial knob
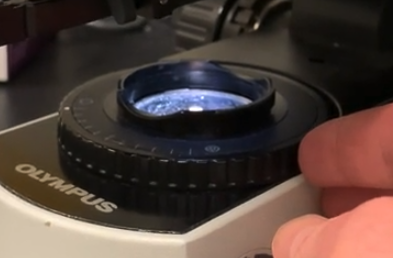
Check that eye-pieces are set appropriately
Bottom = Width Adjustment
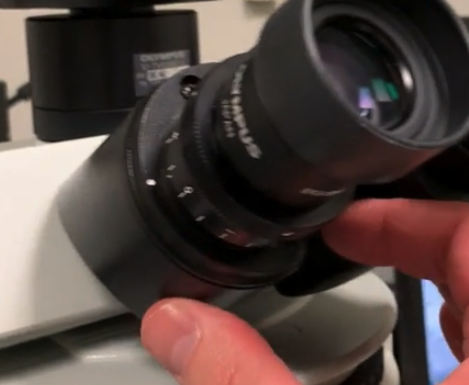
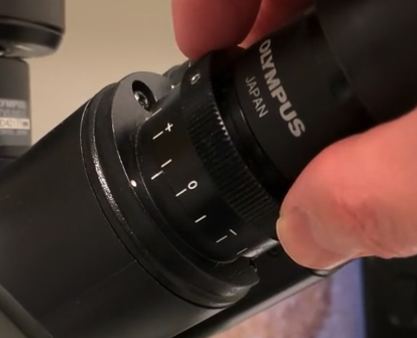
Left Eye-piece has Diopter Adjustment Ring = can adjust the focus of the left eye independent of what you see in the right eye
- useful because people's eyes vary , left eye vision is different than right
- First close left eye , and focus on the sample using only your right eye
- Then close right eye , and use ring to adjust viewing for left eye
How to Optimize the Illumination
- Koehler Illumination = german guy who invented procedure
- every time you sit down at the microscope , you should confirm you have "good Koehler illumination"
Start with slide on the specimen holder and with 10x objective lens
Look through eye pieces and confirm everything is in sharp focus
Adjust the condenser
using the condenser-height-adjustment-knob
- up and down adjustment , focuses the lens of the condenser so that it matches the light path and the focal plane of the objectives
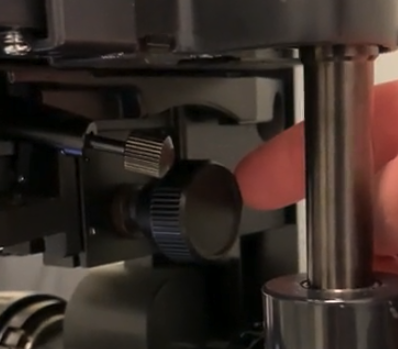
Ok , so move the knob all the way to the "top"
aka turn all the way clockwise
- it might feel like its going to hit your slide and break it , but it won't
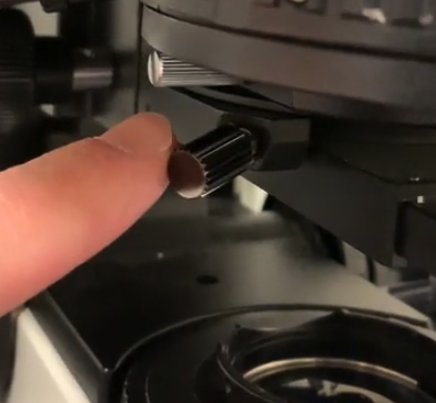
Adjust field iris diaphragm
- Counter-clockwise = "closes down"
- Clockwise = "opens up"
Adjust such that instead of a full beam of light , there is instead only a pin-hole amount
looking through the eyepieces as you do this should enable you to confirm its at a pin-hole amount
can confirm on computer camera screen , its only a small part of field of view
edges might not be perfectly sharp
should look like a stop sign when you are done
adjust the condenser hight knob until the edges look sharp
Now go back to the condenser , and make sure the spot is in the center of the field of view
This is done by adjusting two different centering screws underneath the condenser
on the left
and right side of the microscope
by turning the screws simultaneously , either loosening or tightening them
- you can "walk" the spot of light around on the image you see on the computer screen
- you want the spot of light in the middle of the field of view
Now gradually open the field iris , until the light on the edges just barley goes beyond the field of view
easier to tell using the eye pieces
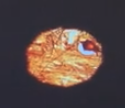
Example of "almost there"
So open it just a tad bit more ,
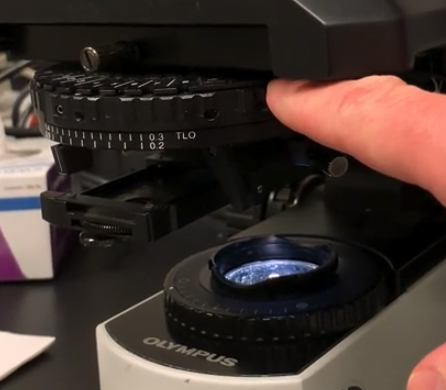
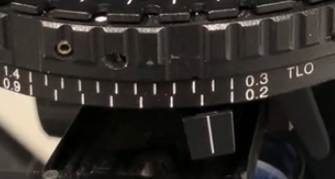
Adjust aperture iris slider
All the way to the right = very small spot of light that is illuminating the sample
All the way to the left = large are area of light illuminating the sample
0.9 - 0.2
- lines = 0.1
Adjust based on the objective you are using and its numerical aperture
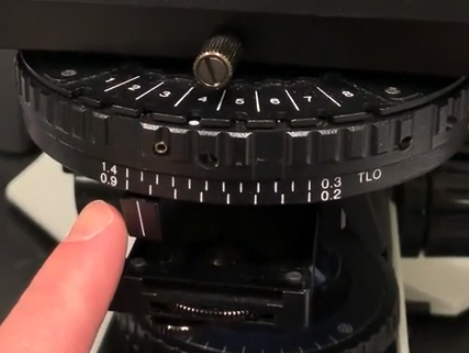
Example , we start with the 10x objective , with a 0.3 numerical aperature

so move the slider to match the numerical aperture of 0.3
- 0.2 + 1 line = 0.3
If you switch objectives , you HAVE to adjust this slider every time to match
Green = 20x , with a 0.75 numerical aperature

So change slider to : 0.2 + around 5 lines = ~ 0.7
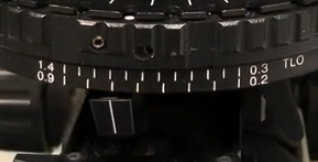
- Also since you just changed the objective , change the field iris again to make sure the illuminated space is "just bigger" than the field of view you can see
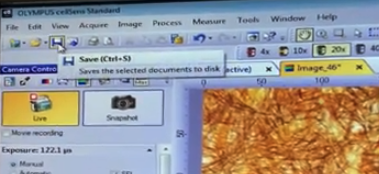
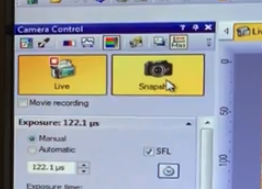
CellSens Software
- Has live window
- Has exposure time slider
- Has snap-shot mode to capture image you want to save
Set white balance
move sample to big open space where you have no tissue that the light is passing through
you want to tell the software that this has no color , so that it adjust the rest of the image to match this
Click top left button :
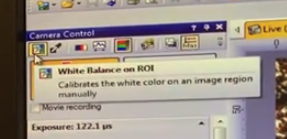
Then go over to the viewing window , and left click the mouse and drag to draw a box on region of interest ( ROI )
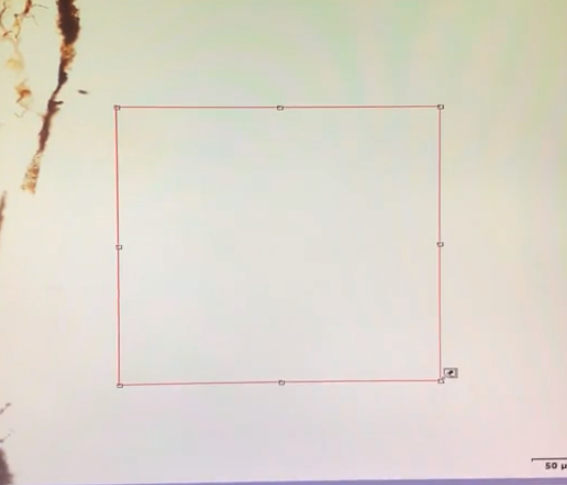
this re-calibrates the software to define this area as "white"
this gives good color representation for the rest of the image
When you are ready to save an image , click the "Snapshot" button
It asks you to confirm which objectives you are using
calibrations are already loaded into the computer
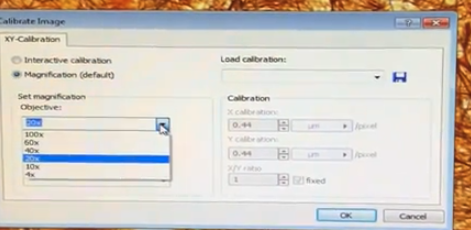
Click "OK"
It then opens another window with the "saved image"
one on the right should be the one you just "saved"
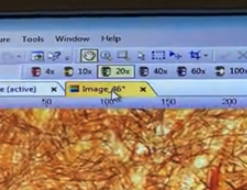
Now with the correct tab selected / highlighted , you can press the "Save" button or File -> Save As